There’s something universally magical about ice cream. It’s that timeless dessert that evokes memories of warm summers, laughter-filled picnics, birthday parties, and the simple joy of childhood. The sound of the scoop scraping against a tub of frozen sweetness, the creamy texture melting slowly on your tongue, and the endless variety of flavors — ice cream is a comfort food and a celebration all in one.
But what if I told you that you could make rich, creamy, homemade ice cream without a machine, without eggs, and with just two simple ingredients? Yes, it’s not only possible — it’s unbelievably easy, indulgent, and endlessly customizable.
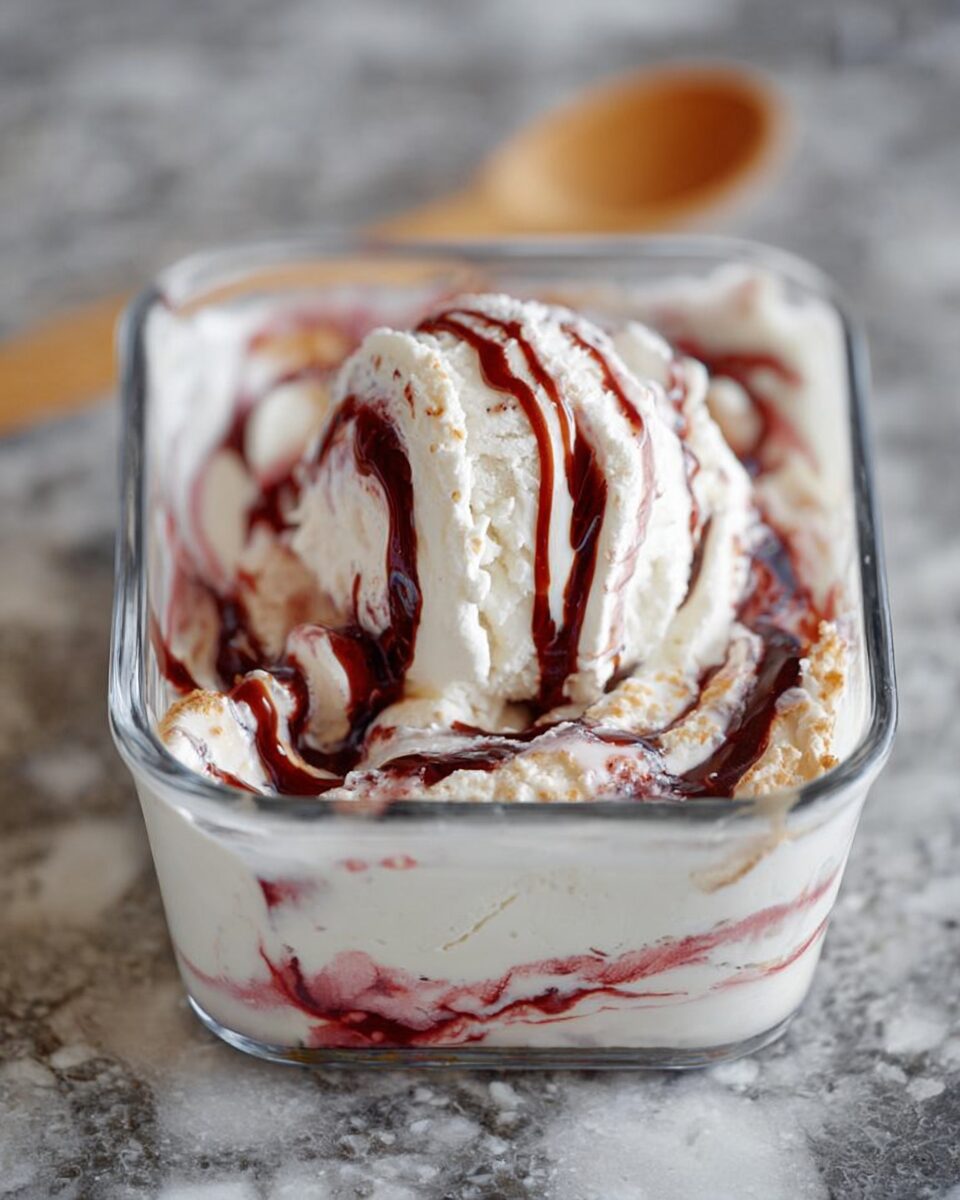
This Two-Ingredient Ice Cream is a revelation for anyone who has ever believed that homemade ice cream requires fancy equipment, time-consuming custard bases, or constant churning. All you need is heavy whipping cream and sweetened condensed milk, and you’re moments away from creating a luscious, scoopable ice cream that rivals anything from your favorite creamery.
I remember the first time I stumbled upon this method. It was one of those hot summer afternoons when the craving for something cold and creamy struck, but the freezer was heartbreakingly empty. I didn’t own an ice cream maker, and I didn’t have the patience to churn and stir by hand. Out of sheer curiosity, I decided to try a no-machine ice cream hack I’d heard about — whipping cream and folding it into condensed milk.
I honestly didn’t expect much. But when I pulled that frozen bowl out of the freezer six hours later, I was stunned. The texture was silky smooth, perfectly scoopable, and delightfully rich. It tasted like something that had taken hours to prepare, yet it was done in minutes. That moment changed how I thought about homemade ice cream forever.
Since then, this recipe has become a summer staple in my kitchen — the kind of dessert that’s so easy and foolproof, it feels like a magic trick. Over time, I’ve experimented with countless variations: chocolate, strawberry, coffee, cookies and cream, mango, pistachio, and even matcha. Each one starts with the same creamy two-ingredient base, making it one of the most versatile desserts you’ll ever learn to make.
Whether you’re a seasoned home baker or someone just dipping their toes into the world of homemade desserts, this Two-Ingredient Ice Cream is a must-try. It’s rich, creamy, endlessly adaptable, and requires no special tools — just a whisk, a bowl, and a little patience while it freezes.
Let’s make some ice cream magic together.
Full Recipe
Ingredients
Basic Two-Ingredient Ice Cream Base:
- 2 cups (480 ml) cold heavy whipping cream (minimum 35% fat content)
- 1 can (14 oz / 397 g) sweetened condensed milk
Optional Add-ins (choose your favorite):
- 1 teaspoon pure vanilla extract (for classic vanilla flavor)
- 1/4 cup cocoa powder or 1/2 cup melted chocolate (for chocolate ice cream)
- 1/2 cup crushed cookies, nuts, or fruit purees for mix-ins
Directions
Step 1: Chill Your Ingredients and Tools
Start by placing your mixing bowl and whisk (or beaters, if using a hand mixer) in the refrigerator for about 10–15 minutes before you begin. Cold equipment helps the cream whip faster and achieve more volume, which is essential for a light, fluffy texture.
Pro tip: Use heavy cream straight from the fridge. Warm cream won’t whip properly and could result in a dense texture.
Step 2: Whip the Cream
Pour the cold heavy whipping cream into your chilled bowl. Using a hand or stand mixer, beat the cream on medium-high speed until stiff peaks form — about 3–4 minutes.
You’ll know it’s ready when the cream holds its shape and you can lift the beaters without the peaks collapsing. Be careful not to overwhip, as that can turn your cream into butter!
Technique tip: If you’re whipping by hand, use a large balloon whisk and make quick circular motions. It’s an arm workout, but the reward is absolutely worth it.
Step 3: Add the Sweetened Condensed Milk
In a separate bowl, pour the sweetened condensed milk. This thick, velvety ingredient gives your ice cream its signature sweetness and creaminess — it replaces both the sugar and the custard base used in traditional ice cream.
Gently fold the whipped cream into the condensed milk using a spatula. Work slowly, using broad, sweeping motions from bottom to top to avoid deflating the mixture. Continue folding until the two ingredients are fully combined and smooth.
Why folding matters: This gentle mixing technique keeps the whipped cream’s airiness intact, which is what gives your ice cream that soft, scoopable texture without the need for churning.
Step 4: Flavor It (Optional but Highly Recommended)
Now comes the fun part — flavoring your base! You can transform this creamy blank canvas into virtually any kind of ice cream you can dream up.
Here are a few ideas:
- Vanilla: Add 1 teaspoon of pure vanilla extract for a classic, elegant flavor.
- Chocolate: Whisk in 1/4 cup unsweetened cocoa powder or fold in melted chocolate.
- Coffee: Add 1 tablespoon of instant espresso powder dissolved in 1 tablespoon hot water.
- Fruit: Swirl in 1/2 cup of strawberry, mango, or raspberry puree for a fruity twist.
- Cookies & Cream: Fold in 1 cup of crushed chocolate sandwich cookies.
Customization tip: Divide the base into two or three smaller bowls if you want to make multiple flavors from one batch.
Step 5: Freeze
Pour your flavored ice cream mixture into a loaf pan or freezer-safe container. Smooth the top with a spatula and cover tightly with plastic wrap or a lid.
Freeze for at least 6 hours, or overnight if possible. The longer it freezes, the firmer and more scoopable it becomes.
Freezing tip: Press plastic wrap directly onto the surface before covering to prevent ice crystals from forming.
Step 6: Scoop and Serve
Once fully frozen, remove the container from the freezer and let it sit at room temperature for 3–5 minutes before scooping. This allows the ice cream to soften slightly, giving you those perfect creamy scoops.
Serve in bowls, waffle cones, or even sandwiched between cookies for an instant ice cream sandwich. Add toppings like caramel sauce, chocolate syrup, nuts, or fresh fruit — the possibilities are endless!
Serving Suggestions & Variations
1. Classic Vanilla Dream
Keep it simple and timeless with vanilla extract and a touch of salt to balance the sweetness. It’s the perfect base for any topping — from chocolate fudge to crushed berries or toasted almonds.
2. Double Chocolate Indulgence
For chocolate lovers, stir in cocoa powder and fold in melted dark chocolate for richness. Add chocolate chips or brownie chunks for texture. A pinch of espresso powder enhances the flavor even more.
3. Strawberry Swirl
Puree fresh strawberries with a tablespoon of sugar and swirl it through the base just before freezing. You’ll get ribbons of tangy fruit in every bite — perfect for summer picnics.
4. Cookies and Cream
Crush your favorite sandwich cookies (like Oreos) and fold them in for a cookies-and-cream masterpiece. For extra crunch, reserve a few crumbs to sprinkle on top before freezing.
5. Tropical Paradise
Mix in mango or passion fruit puree for a taste of the tropics. For a coconut version, substitute half of the cream with chilled coconut cream and stir in shredded coconut or pineapple chunks.
6. Salted Caramel Swirl
Fold in ribbons of caramel sauce and a pinch of sea salt. The sweet-salty contrast is irresistible, especially when topped with toasted pecans.
7. Vegan Alternative
Use full-fat coconut cream instead of heavy cream and vegan condensed coconut milk. The texture remains smooth and creamy, with a hint of coconut flavor that pairs beautifully with tropical or chocolate mix-ins.
Tips & Tricks
- Quality ingredients matter: Since there are only two main ingredients, use high-quality heavy cream and condensed milk for the best flavor and texture.
- Keep everything cold: The colder your ingredients, the fluffier your whipped cream will be — which means a lighter, airier ice cream.
- Experiment fearlessly: This base is your blank canvas! Mix and match flavors, spices, extracts, and textures to create your dream dessert.
- Storage: Keep your ice cream in an airtight, freezer-safe container for up to 2 weeks. Press plastic wrap directly on the surface to prevent freezer burn.
- Avoid ice crystals: The condensed milk acts as a stabilizer, but ensure your freezer maintains a consistent temperature to keep your ice cream smooth.
- No condensed milk? Make your own! Simmer 2 cups of milk with 2/3 cup sugar over low heat until thick and syrupy, about 30–40 minutes. Cool before using.
- Serve with flair: Try serving in homemade waffle cones, with fruit compote, or as an affogato — a scoop of vanilla ice cream “drowned” in hot espresso.
Nutritional Info (per serving, approximately 1/2 cup)
- Calories: ~250
- Total Fat: 16 g
- Saturated Fat: 10 g
- Cholesterol: 60 mg
- Sodium: 60 mg
- Total Carbohydrates: 22 g
- Sugars: 20 g
- Protein: 4 g
Note: Nutritional values vary depending on mix-ins and toppings.
Additional Info
- Prep Time: 15 minutes
- Cooking Time: 0 minutes
- Freezing Time: 6 hours
- Total Time: 6 hours 15 minutes
- Calories per Serving: 250
- Servings: 8
Final Thoughts
There’s a certain joy in realizing that something so decadent can be so incredibly simple. This Two-Ingredient Ice Cream is proof that homemade doesn’t have to mean complicated. With just cream and condensed milk, you can create a luxurious, velvety dessert that’s endlessly customizable and always crowd-pleasing.
Every time I make this recipe, I’m reminded that sometimes, the simplest things are the most satisfying. It’s a blank canvas that encourages creativity — a base you can transform into anything from a classic vanilla scoop to a gourmet flavor worthy of a patisserie display.
It’s also a dessert that brings people together. Whether it’s kids helping stir in chocolate chips or friends picking their favorite toppings at an ice cream bar, there’s something communal and heartwarming about making ice cream from scratch.
So the next time the craving for something cool and creamy hits — skip the store-bought tub and make your own magic instead. No machines, no fuss, no rules — just pure, creamy happiness frozen in a bowl.