There’s something deeply comforting about the aroma of freshly baked cinnamon rolls wafting through the house — that warm, buttery scent intertwined with hints of brown sugar and spice feels like a hug in edible form. Whether you grew up enjoying them on Sunday mornings, at cozy cafés, or during festive holiday breakfasts, cinnamon rolls are one of those classic baked goods that evoke nostalgia, comfort, and joy in every swirl.
My own love for cinnamon rolls began in my grandmother’s kitchen. She’d wake up before dawn to start the dough, letting it rise while the rest of us were still bundled under warm blankets. By the time we stumbled sleepily into the kitchen, the air was rich with the smell of yeast and cinnamon, and a tray of golden rolls — each one glistening with a thick layer of cream cheese frosting — awaited us. Those mornings weren’t just about food; they were about togetherness, patience, and love rolled into every bite.
Cinnamon rolls have a fascinating history too. Though they’re now a staple in American bakeries and breakfast tables, their origins trace back to Sweden, where the “kanelbulle” (literally “cinnamon bun”) has been enjoyed since the 1920s. In Sweden, they’re less sugary and more subtly spiced, often enjoyed with coffee during “fika,” the cherished daily coffee break. When the concept crossed the Atlantic, it evolved into the sweet, gooey rolls we adore today — enriched with more butter, sugar, and sometimes topped with creamy icing.
What makes a homemade cinnamon roll truly special is the balance of textures and flavors. The dough should be soft yet slightly chewy, the filling rich but not overly sweet, and the icing creamy enough to melt beautifully over the warm spirals. Making them from scratch might seem intimidating, but once you get your hands into the dough, you’ll discover that it’s more relaxing than complicated. The rhythm of kneading, rolling, and shaping the spirals becomes a joyful ritual — and the reward at the end is pure bliss.
Cinnamon rolls are also versatile. They can be a weekend breakfast treat, a holiday brunch centerpiece, or even a dessert to share after dinner. You can flavor the filling differently — add orange zest for a bright twist, or chopped pecans for a crunchy bite — and they’ll always come out irresistible.
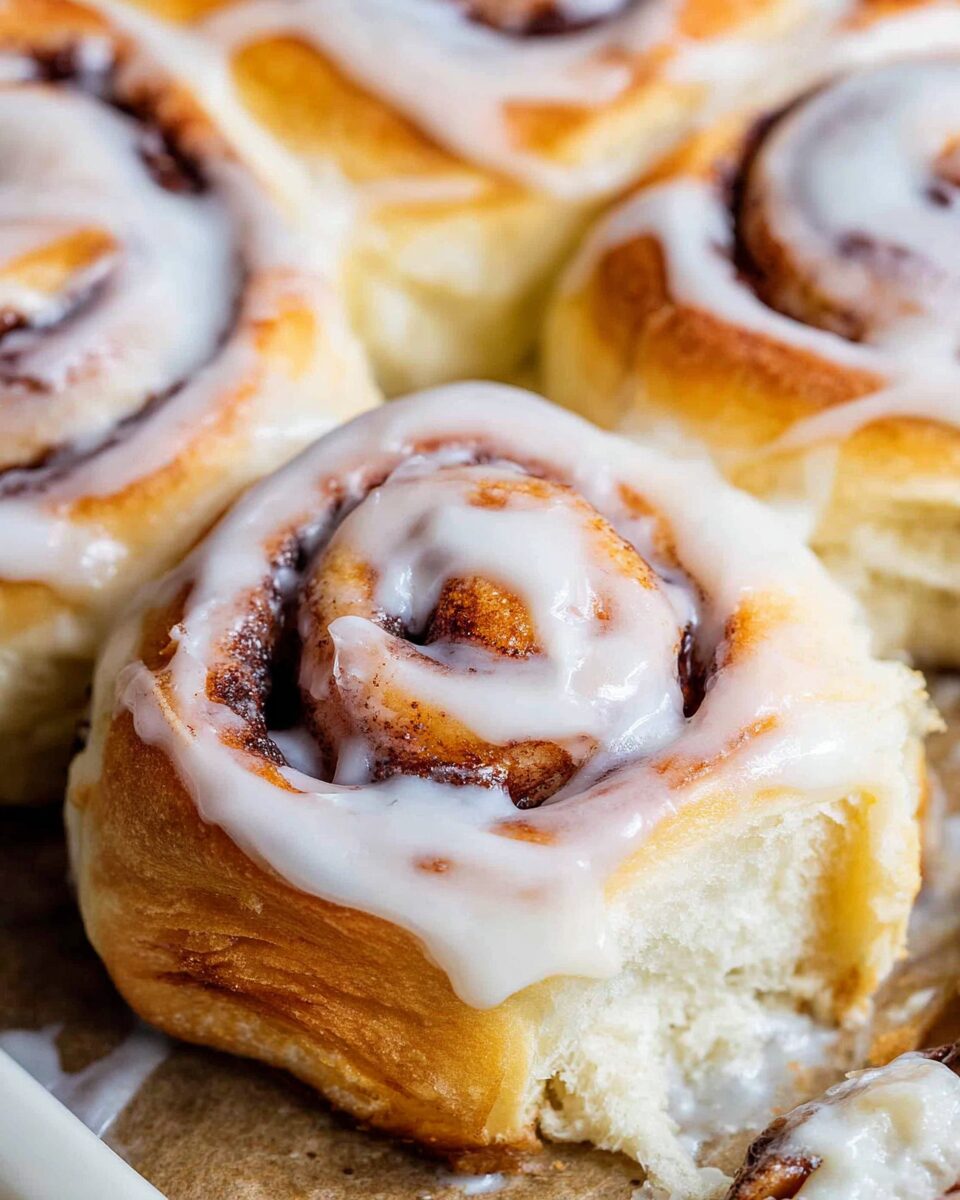
This homemade cinnamon roll recipe captures the essence of those classic bakery-style rolls: soft, pillowy dough, a luscious buttery cinnamon-sugar filling, and a silky cream cheese glaze that ties everything together. It’s a recipe meant to be savored — not rushed — and it’s perfect for making any morning feel a little more special.
So, roll up your sleeves, warm your oven, and let’s bring that magic to your kitchen.
Full Recipe
Ingredients
For the Dough
- 1 cup (240 ml) whole milk, warmed to about 110°F (43°C)
- 2 ¼ teaspoons (7 g) active dry yeast (1 packet)
- ½ cup (100 g) granulated sugar
- 2 large eggs, room temperature
- ⅓ cup (75 g) unsalted butter, melted
- 1 teaspoon salt
- 4 ½ cups (540 g) all-purpose flour (plus more for dusting)
For the Filling
- ½ cup (115 g) unsalted butter, softened
- 1 cup (200 g) packed brown sugar
- 2 ½ tablespoons ground cinnamon
- 1 tablespoon all-purpose flour (optional, helps absorb butter)
- Optional: ½ cup (60 g) chopped pecans or walnuts
For the Cream Cheese Frosting
- 4 oz (115 g) cream cheese, softened
- ¼ cup (60 g) unsalted butter, softened
- 1 ½ cups (180 g) powdered sugar, sifted
- ½ teaspoon vanilla extract
- 1–2 tablespoons heavy cream or milk (to thin, as needed)
Directions
Step 1: Activate the Yeast
Start by warming the milk until it’s just slightly warmer than body temperature — about 110°F (43°C). It should feel warm to the touch but not hot. Pour it into a large mixing bowl and sprinkle the yeast over the top. Add 1 tablespoon of the sugar (from your measured amount) and let the mixture sit for 5–10 minutes until it becomes frothy. This step “wakes up” the yeast and ensures your dough will rise beautifully.
Tip: If the mixture doesn’t foam, your yeast may be expired or the milk was too hot — start over with fresh yeast.
Step 2: Make the Dough
Once the yeast is active, whisk in the remaining sugar, melted butter, eggs, and salt. Gradually add in the flour, one cup at a time, mixing with a wooden spoon or dough hook attachment until the dough begins to pull away from the sides of the bowl.
Transfer the dough to a lightly floured surface and knead for about 8–10 minutes, or until smooth and elastic. The dough should be soft and slightly tacky, but not sticky.
Tip: Proper kneading builds gluten — the structure that gives your rolls their soft, chewy texture.
Form the dough into a ball and place it in a greased bowl. Cover with plastic wrap or a clean kitchen towel and let it rise in a warm place for 1–1.5 hours, or until doubled in size.
Step 3: Prepare the Filling
While the dough rises, make the filling. In a small bowl, mix together the softened butter, brown sugar, cinnamon, and optional tablespoon of flour. Stir until you have a spreadable paste. This will create that gooey, aromatic center we all love.
Step 4: Roll Out the Dough
Once the dough has doubled, gently punch it down to release excess air. Transfer it to a floured surface and roll it into a large rectangle, approximately 16×12 inches (40×30 cm).
Spread the cinnamon filling evenly over the surface, reaching close to the edges. Sprinkle with chopped nuts if desired.
Step 5: Shape the Rolls
Starting from the long edge, roll the dough tightly into a log. Try to keep it even so that your rolls bake uniformly. Once rolled, trim the ends for neatness, then use unflavored dental floss or a sharp knife to cut the log into 12 even slices.
Tip: Dental floss slices the dough cleanly without squishing the layers.
Place the rolls in a greased 9×13-inch baking dish, leaving a bit of space between each one to allow for rising.
Step 6: Second Rise
Cover the dish and let the rolls rise again for 30–45 minutes, or until puffy and nearly doubled in size. This second rise ensures a tender texture and beautiful height.
If you want to make them ahead, you can cover the pan and refrigerate overnight. Just let them come to room temperature for about 45 minutes before baking.
Step 7: Bake
Preheat your oven to 350°F (175°C). Bake the rolls for 25–30 minutes, or until golden brown on top and cooked through. If the tops brown too quickly, loosely cover with foil during the last 10 minutes.
Tip: The center rolls will always take slightly longer; check doneness by gently pulling one apart — it should be fluffy and no longer doughy.
Step 8: Make the Frosting
While the rolls cool slightly, prepare the frosting. Beat together the cream cheese and butter until smooth and fluffy. Add the powdered sugar, vanilla, and enough milk or cream to reach a silky consistency.
Spread the frosting over the warm rolls so it melts into the crevices. For a thicker, more distinct frosting layer, wait until the rolls have cooled slightly more before spreading.
Serving Suggestions & Variations
1. Classic Breakfast Treat
Serve these warm from the oven with a cup of coffee or tea. The combination of soft dough and creamy frosting makes them a perfect weekend indulgence.
2. Holiday Brunch Star
Make them the night before and bake them in the morning for Christmas, Easter, or any family gathering. The scent of cinnamon rolls baking will bring everyone to the kitchen!
3. Pecan Caramel Rolls
Before placing your rolls in the baking pan, pour a layer of caramel sauce and chopped pecans on the bottom. Place the rolls on top and bake. Invert after baking for a sticky, gooey caramel delight.
4. Orange Zest Cinnamon Rolls
Add 1 tablespoon of orange zest to the dough and 1 teaspoon to the frosting for a bright, citrusy flavor twist that pairs beautifully with cinnamon.
5. Healthier Version
Swap half the all-purpose flour for whole wheat flour and reduce the sugar in the filling slightly. You can also use Greek yogurt in the frosting for a lighter touch.
6. Vegan Version
Replace the milk with almond or oat milk, butter with vegan margarine, and use a vegan cream cheese substitute. The texture remains soft, and the flavor still indulgent.
Tips & Tricks
- Yeast Success: Always use fresh yeast and warm (not hot) liquid. Heat kills yeast; cool milk won’t activate it.
- Perfect Dough Texture: The dough should be tacky but not sticky. If it sticks too much, add flour a tablespoon at a time — but avoid over-flouring.
- Even Rolls: Use a ruler or unflavored dental floss to get uniform slices. Even sizes ensure they bake evenly.
- Overnight Option: You can refrigerate shaped rolls overnight. The next morning, let them rest at room temperature before baking.
- Storage: Keep leftover rolls in an airtight container at room temperature for up to 2 days, or refrigerate for up to 5. Reheat in the microwave for 10–15 seconds to make them soft again.
- Freezing: Unbaked rolls can be frozen after shaping. Let them thaw and rise before baking, or freeze baked rolls and reheat individually.
- Frosting Tip: For an extra glossy glaze, whisk in a little corn syrup or replace some of the cream with maple syrup.
- Flavor Ideas: Add nutmeg or cardamom for a more spiced flavor, or swirl in cocoa powder for “chocolate cinnamon rolls.”
Nutritional Info (Per Serving)
(Based on 12 servings)
- Calories: ~390
- Fat: 16 g
- Saturated Fat: 9 g
- Carbohydrates: 56 g
- Sugar: 25 g
- Protein: 6 g
- Fiber: 2 g
- Sodium: 260 mg
Additional Info
- Prep Time: 25 minutes
- Rise Time: 1 hour 30 minutes
- Cooking Time: 25–30 minutes
- Total Time: About 2 hours 30 minutes
- Servings: 12 rolls
- Calories per Serving: ~390
Final Thoughts
Homemade cinnamon rolls are more than just a recipe — they’re an experience. The gentle hum of the mixer, the silky feel of the dough, the anticipation as the rolls puff up in the oven — it’s all part of the magic. And when you finally pull them out, still warm and golden, and spread that luscious frosting over the top, you’ll realize it’s not just about eating — it’s about creating something with love.
Share them with friends at brunch, serve them on lazy Sunday mornings, or wrap them up as gifts during the holidays. Once you’ve made these from scratch, you’ll never look at store-bought rolls the same way again.
So go ahead — dust your counter, warm your oven, and fill your home with that heavenly scent of cinnamon and butter. One bite, and you’ll understand why this classic has stood the test of time.