There’s something timeless and deeply satisfying about baking a loaf of French bread. The simplicity of ingredients — flour, water, yeast, and salt — might seem unremarkable, but what they create together is pure magic. A good French bread, with its golden crust and soft, airy interior, is more than just bread — it’s a symbol of warmth, tradition, and connection.
For me, French bread has always been the kind of recipe that turns an ordinary day into something special. I can still remember the first time I made it. I was in my small kitchen on a rainy afternoon, craving something rustic and comforting. I had always thought French bread belonged to professional bakers with stone ovens and years of experience. But as I mixed the dough, kneaded it with my hands, and watched it rise slowly on the counter, I began to understand — this bread isn’t just about precision, it’s about patience and care.
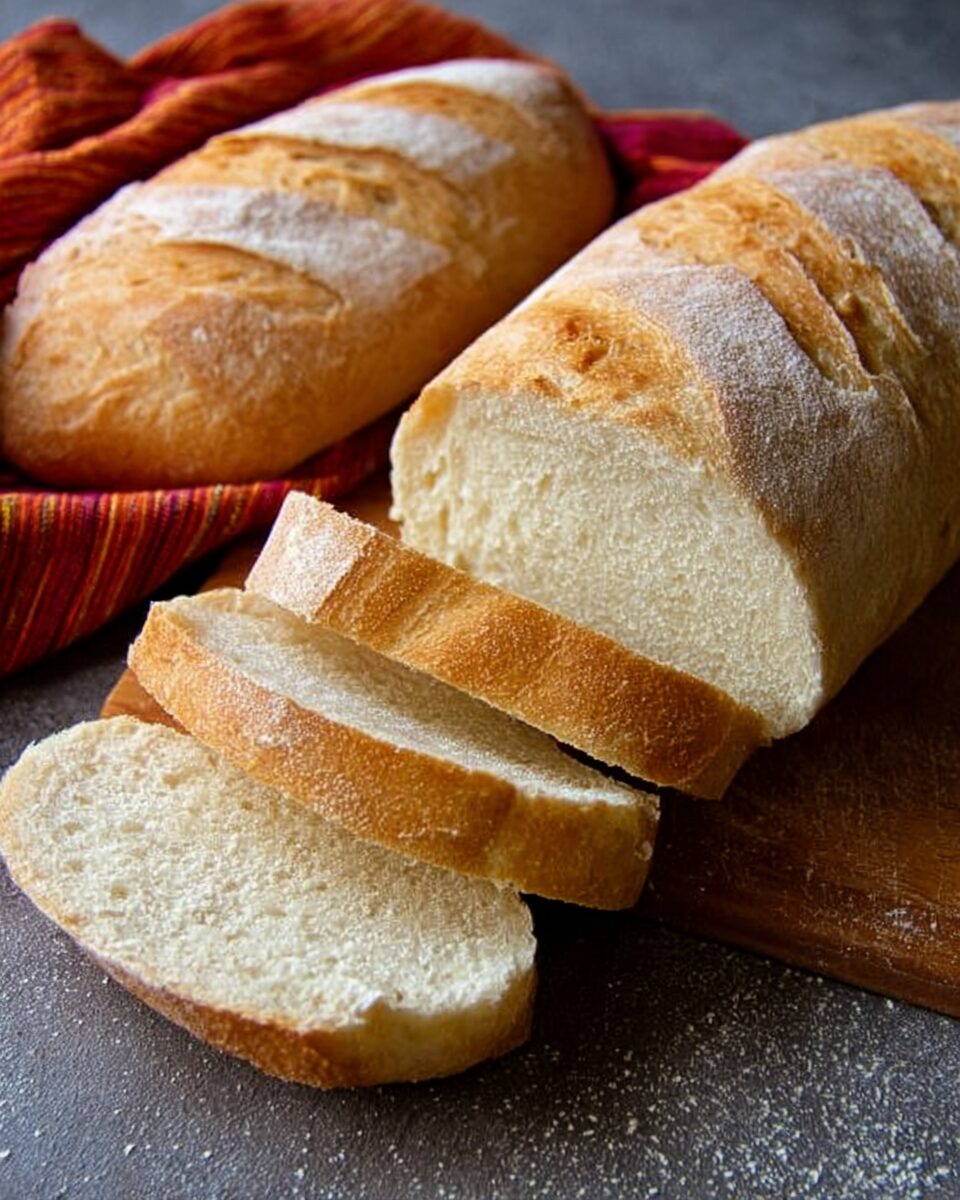
When that first loaf came out of the oven, it was golden brown, its crust crackling as it cooled. I tore off a piece, and steam rose from the center like a warm sigh. The inside was tender, slightly chewy, and filled with the comforting aroma of freshly baked bread. I spread a bit of butter over it, and it melted instantly — I think that’s when I truly fell in love with baking.
French bread, or pain français, is deeply woven into culinary history. Its origins trace back centuries, rooted in the simplicity of everyday French life. Traditionally baked fresh each morning, French bread is not meant to last for days — it’s made to be enjoyed the same day, ideally still warm. In French culture, bread is not just a side dish; it’s part of the rhythm of daily living. A crisp baguette tucked under an arm, a loaf shared at dinner, slices served with cheese and wine — it’s as much about community as it is about food.
What makes this particular recipe my favorite is how accessible it is. You don’t need special tools or fancy techniques. You don’t even need a bread machine. All you need is time, a warm kitchen, and a little faith in the process. With just a handful of pantry ingredients and some patience, you’ll be rewarded with a loaf that rivals anything from a bakery.
This French bread is beautifully balanced — the crust is crisp but not overly hard, and the inside is light and fluffy with just enough chew. It’s the perfect all-purpose loaf: ideal for dipping into soups, slathering with butter, making sandwiches, or serving alongside pasta or cheese boards.
It’s also an incredibly meditative process. The act of kneading, the smell of yeast, the quiet anticipation as it rises — it’s a reminder that good things take time. Each loaf tells a story of simplicity, patience, and joy.
So, roll up your sleeves, dust your counter with flour, and let’s bake My Favorite French Bread — a recipe that will fill your kitchen with warmth and your heart with pride.
Full Recipe
Ingredients
For the Dough
- 2 ¼ teaspoons (7 g) active dry yeast (1 packet)
- 1 ½ cups (360 ml) warm water (about 110°F / 43°C)
- 2 teaspoons granulated sugar
- 3 ½ cups (440 g) all-purpose flour (plus extra for dusting)
- 2 teaspoons salt
- 1 tablespoon olive oil (optional, for softer crust)
For the Finishing Touch
- 1 egg white, lightly beaten (for a glossy crust)
- 1 tablespoon water (to mix with egg white)
Directions
Step 1: Activate the Yeast
Start by combining the warm water, sugar, and yeast in a small bowl. Let it sit for about 5–10 minutes until it becomes frothy and bubbly. This step ensures the yeast is active and ready to work its magic.
Tip: The water should be warm — about the temperature of a baby’s bath (not hot). If it’s too hot, it can kill the yeast; too cold, and the yeast won’t activate properly.
Step 2: Make the Dough
In a large mixing bowl, combine the flour and salt. Make a well in the center and pour in the yeast mixture. Using a wooden spoon or dough hook, stir until the dough starts to come together.
Once the mixture forms a shaggy dough, turn it out onto a lightly floured surface and begin kneading. Knead for about 8–10 minutes, adding flour as needed to prevent sticking. The dough should become smooth, elastic, and slightly tacky but not sticky.
Why kneading matters: Kneading develops gluten, which gives the bread its structure and chewy texture. You’ll know it’s ready when you can stretch a small piece thin enough to see light through it without tearing — this is called the windowpane test.
If using a stand mixer, knead on medium speed with a dough hook for about 6–7 minutes.
Step 3: First Rise (Proofing)
Form the dough into a ball and place it in a lightly greased bowl. Cover with plastic wrap or a damp towel, and let it rise in a warm place for about 1–1.5 hours, or until doubled in size.
Tip: A good rising spot is inside an oven that’s turned off but has the light on — the gentle warmth encourages fermentation.
As the dough rises, the yeast feeds on the sugars in the flour, creating carbon dioxide that gives your bread its airy structure. You’ll also notice a subtle, almost sweet yeasty aroma — that’s the scent of good bread in the making.
Step 4: Shape the Loaf
Once the dough has doubled in size, punch it down gently to release the air. Turn it out onto a lightly floured surface.
For a classic French loaf, flatten the dough into a rectangle (about 10×12 inches). Starting at one long edge, roll the dough tightly into a log, pinching the seam to seal. Tuck the ends under slightly to create smooth edges.
Place the shaped loaf on a parchment-lined baking sheet. If you want to make two smaller loaves, divide the dough in half and repeat the shaping process for each.
Optional: For a more authentic look, place the loaves on a floured kitchen towel (couche) to rise, supported by folds of fabric, then transfer them to a baking sheet just before baking.
Step 5: Second Rise (Proofing Again)
Cover the shaped dough loosely with a towel or plastic wrap and let it rise again for about 30–45 minutes, or until puffy.
During this second rise, the dough relaxes and takes on its final texture. You’ll notice it becomes lighter and slightly more delicate to the touch.
Tip: Don’t rush this step — a proper second rise ensures a beautiful crumb (the soft interior) and prevents dense bread.
Step 6: Prepare for Baking
Preheat your oven to 425°F (220°C) about 20 minutes before baking.
Before baking, brush the loaf with the egg white mixed with 1 tablespoon of water. This helps the crust develop a golden sheen and beautiful color.
Next, make three to five diagonal slashes across the top of the loaf using a sharp knife or bread lame. These cuts aren’t just decorative — they allow steam to escape, preventing the loaf from bursting unpredictably in the oven.
Step 7: Bake the Bread
Place the bread in the preheated oven. To create that signature crisp crust, place a small oven-safe dish of hot water on the bottom rack — the steam will help the crust form beautifully.
Bake for 25–30 minutes, or until the bread is golden brown and sounds hollow when tapped on the bottom.
Tip: For a thicker, crunchier crust, bake the last 5 minutes directly on the oven rack.
Step 8: Cool the Loaf
Remove the bread from the oven and let it cool on a wire rack for at least 30 minutes before slicing. This allows the interior to finish setting. Cutting too soon can release steam and make the crumb gummy.
Tip: Listen closely — as the bread cools, you’ll hear the crust crackling softly. That’s the sound of perfection!
Serving Suggestions & Variations
1. Classic French Pairing
Serve warm slices with softened butter, sea salt, and a drizzle of honey. Pair it with cheese, olives, or a glass of red wine for a simple but elegant snack.
2. Garlic Bread
Turn leftover slices into garlic bread! Mix softened butter with minced garlic, chopped parsley, and a pinch of salt. Spread on slices, toast under the broiler until golden, and serve with pasta or soup.
3. Sandwich Loaf
This French bread makes incredible sandwiches — from ham and cheese to tomato and mozzarella. Slice lengthwise, toast lightly, and fill with your favorite ingredients.
4. Rustic Breakfast Toast
Toast slices and top with avocado, smoked salmon, or scrambled eggs. The crisp crust and soft center make it an ideal base for both savory and sweet toppings.
5. Herb-Infused Version
Add 1 tablespoon of dried herbs (like rosemary, thyme, or oregano) to the flour before mixing for an aromatic twist. Perfect for serving with soups or roasts.
6. Whole Wheat Variation
Replace 1 cup of all-purpose flour with whole wheat flour for added fiber and a nutty flavor. The texture becomes slightly denser, but the taste is wonderfully rustic.
Tips & Tricks
- Use Bread Flour for Chewier Texture: While all-purpose flour works well, bread flour has higher protein content, which gives the bread a slightly chewier, more structured crumb.
- Perfect Water Temperature: Aim for 105–110°F (40–43°C). A simple way to test is by dipping your finger in — it should feel warm but not hot.
- Don’t Overflour: When kneading, use just enough flour to prevent sticking. Too much will make the bread tough.
- Steam for Crust: The key to that bakery-style crisp crust is steam. If you don’t have a dish of water, you can mist the oven walls with a spray bottle just before closing the door.
- Check Doneness by Temperature: If you have an instant-read thermometer, the internal temperature should read about 200–205°F (93–96°C) when done.
- Storage: Wrap cooled bread in a clean kitchen towel or paper bag for up to 2 days at room temperature. Avoid sealing it in plastic — it traps moisture and softens the crust.
- Reviving Stale Bread: Sprinkle the crust with water and warm in a 350°F (175°C) oven for 5–7 minutes — it will taste freshly baked again!
- Freezing: Slice and freeze in portions. Reheat frozen slices in a toaster or oven when needed.
Nutritional Info (Per Serving)
(Based on 12 servings)
- Calories: ~160
- Fat: 2 g
- Saturated Fat: 0.5 g
- Carbohydrates: 30 g
- Protein: 5 g
- Fiber: 1.5 g
- Sodium: 220 mg
Additional Info
- Prep Time: 20 minutes
- Rise Time: 2 hours
- Cooking Time: 30 minutes
- Total Time: 2 hours 50 minutes
- Servings: 12 slices (1 large loaf)
- Calories per Serving: ~160
Final Thoughts
There’s an unmatched joy in baking your own bread — the transformation of simple ingredients into something so comforting, so fragrant, and so full of life. This recipe for My Favorite French Bread is more than just a set of steps; it’s an experience. It teaches patience, care, and the beauty of simplicity.
When you pull your golden loaf from the oven, you’ll understand why French bread is such a beloved staple around the world. The crisp crust shatters delicately under your knife, revealing a soft, pillowy interior — perfect for soaking up soups, sauces, or simply enjoying with butter.
Whether it’s your first time baking bread or your hundredth, this recipe delivers every time. It’s forgiving, reliable, and endlessly rewarding. Each loaf feels like a small triumph — a celebration of homemade goodness and tradition.
So, preheat your oven, gather your ingredients, and bring a little piece of France into your kitchen. Let the smell of freshly baked bread fill your home and your heart. Because nothing says comfort quite like a warm slice of homemade French bread, shared with people you love.