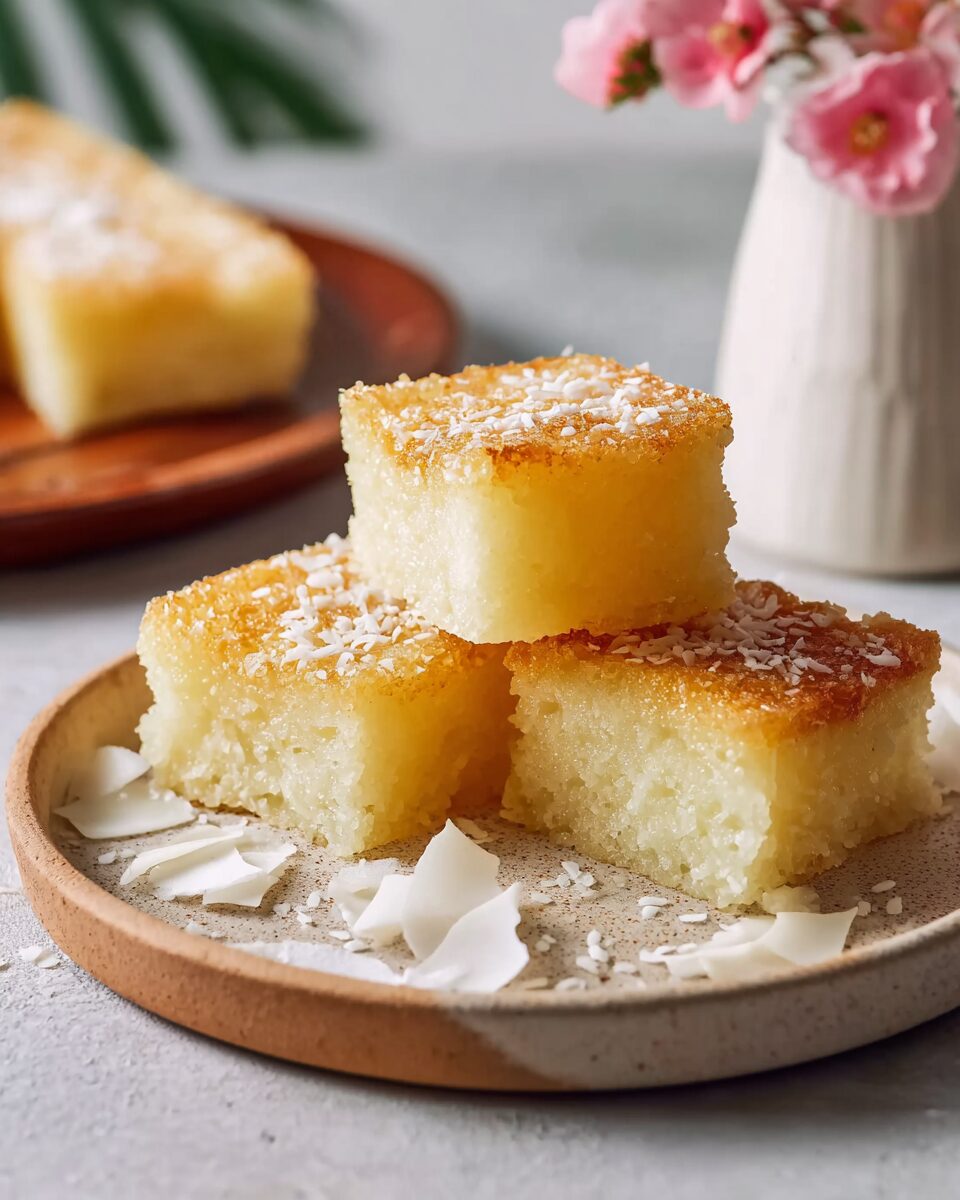
There are few desserts in the world that can capture the spirit of “Aloha” as perfectly as Hawaiian Butter Mochi. With its golden, chewy crust and soft, custard-like center, this beloved island treat is both comforting and exotic — a dessert that bridges tradition and modernity in every bite.
Butter Mochi is Hawaii’s answer to brownies or blondies, but with a tropical twist. Made from sweet rice flour (also known as mochiko), coconut milk, butter, and sugar, it offers a unique chewiness that is reminiscent of Japanese mochi yet distinctly Hawaiian in flavor and character. It’s the kind of dessert you’ll find at local bake sales, potlucks, and family gatherings across the islands — passed around in foil pans, cut into generous squares, and always gone before the end of the party.
What makes this dessert truly special is its deep-rooted multicultural history. Hawaii is a vibrant tapestry of Japanese, Filipino, Portuguese, Chinese, and Polynesian influences, and butter mochi reflects this melting pot beautifully. Its foundation comes from Japanese mochi, a glutinous rice cake traditionally pounded during New Year’s celebrations to bring good fortune. But when Japanese immigrants brought mochiko flour to the islands, they began adapting their beloved dessert using ingredients more readily available in Hawaii — like coconut milk, butter, and sugar — thus creating something completely new.
Over time, butter mochi became a staple of island life. It’s baked, not steamed, making it much easier to prepare than traditional mochi. Its flavor is rich but not overly sweet, with hints of coconut and vanilla that mingle perfectly with the buttery aroma that fills your kitchen as it bakes. It’s one of those desserts that feels like a warm hug — golden on the outside, gooey inside, and irresistibly nostalgic.
You’ll often find butter mochi in small squares at local bake sales or church fundraisers, nestled between trays of banana bread and malasadas. Every family seems to have their own recipe — some use evaporated milk for extra richness, others add shredded coconut, and a few even mix in ube (purple yam) or pandan for color and flavor. Some prefer it extra chewy, others soft and custard-like. But the essence remains the same: a dessert made to share, made with love, and made to remind everyone of home.
This recipe honors the classic Hawaiian Butter Mochi while adding a few tips and techniques to ensure that perfect golden crust and springy interior. Whether you’re baking it for the first time or revisiting a childhood favorite, this dish will fill your home with the aromas of coconut, butter, and pure happiness.
Let’s dive in and create your very own tray of chewy, golden paradise.
Full Recipe
Ingredients
Dry Ingredients:
- 2 cups (260 g) mochiko (sweet rice flour, preferably Koda Farms brand)
- 2 teaspoons baking powder
- 1/4 teaspoon salt
Wet Ingredients:
- 2 cups (480 ml) whole milk
- 1 can (13.5 oz / 400 ml) unsweetened coconut milk
- 1 1/2 cups (300 g) granulated sugar
- 4 large eggs
- 1/2 cup (115 g) unsalted butter, melted and cooled slightly
- 1 teaspoon pure vanilla extract
Optional Add-ins (for extra flair):
- 1/2 cup (45 g) shredded sweetened coconut
- 2 tablespoons condensed milk (for a sweeter, richer bite)
- 1 tablespoon sesame seeds for topping
- 1/2 teaspoon pandan extract (for a green, fragrant twist)
Directions
Step 1: Preheat and Prepare
Preheat your oven to 350°F (175°C). Grease a 9×13-inch baking pan generously with butter or nonstick spray, and if desired, line it with parchment paper for easy removal.
Tip: Butter mochi can stick to pans due to its chewy nature, so don’t skip greasing or lining — this ensures smooth slicing later.
Step 2: Combine the Dry Ingredients
In a large mixing bowl, whisk together the mochiko, baking powder, and salt until well combined. This helps distribute the leavening agent evenly, ensuring that your butter mochi rises gently and bakes evenly throughout.
Why this matters: Mochiko flour has a different texture than wheat flour, so whisking thoroughly prevents lumps and promotes a smooth, elastic batter.
Step 3: Mix the Wet Ingredients
In another large bowl, whisk together the eggs and sugar until the mixture is pale and slightly frothy. Slowly pour in the melted butter, followed by the milk, coconut milk, and vanilla extract. Mix until everything is well incorporated and silky smooth.
The coconut milk is the soul of this dessert — it gives the mochi its signature tropical aroma and creamy texture. If your coconut milk has separated (with a thick cream layer on top), make sure to whisk or shake the can before using it.
Step 4: Combine Wet and Dry Mixtures
Gradually add the dry mixture to the wet mixture in three additions, whisking constantly to avoid lumps. The batter should be smooth, slightly thick, and glossy — somewhat similar to pancake batter but with more elasticity.
Pro Tip: If you notice small lumps of mochiko, run the batter through a fine mesh strainer. This ensures a beautifully smooth texture after baking.
Step 5: Optional Add-ins
Now’s the time to personalize your butter mochi! Stir in shredded coconut for added texture, or a dash of pandan extract for color and floral aroma. You could even fold in small cubes of sweetened azuki beans for a nod to traditional Japanese flavors.
Step 6: Pour and Smooth
Pour the batter into the prepared pan. Use a spatula to smooth the surface evenly — this helps the mochi bake uniformly and develop that perfect, golden crust on top.
Step 7: Bake to Perfection
Bake for 60–70 minutes, or until the top is golden brown and the edges are slightly caramelized. The center should feel firm but springy when lightly pressed.
Baking insight: Every oven is different — if the top browns too quickly, cover it loosely with foil after the 45-minute mark.
Step 8: Cool Before Slicing
Once baked, let the butter mochi cool completely in the pan (about 1 hour). This is crucial — cutting it too early can make it sticky and messy. When cooled, slice into small squares or rectangles using a sharp, lightly oiled knife for clean edges.
Serving tip: Butter mochi tastes best at room temperature or slightly warm. Refrigerating it will firm up the texture, but it becomes delightfully chewy again when gently reheated in the microwave for 10–15 seconds.
Serving Suggestions & Variations
1. Classic Style
Serve your butter mochi plain and simple, just like it’s enjoyed across Hawaii. Its buttery crust and coconut aroma shine beautifully on their own. Pair it with a cup of Kona coffee or green tea for the perfect balance of sweetness and richness.
2. Coconut Crust Butter Mochi
Before baking, sprinkle the top of your batter with shredded coconut. It toasts as it bakes, creating a beautifully crisp, golden topping that contrasts perfectly with the chewy interior.
3. Ube Butter Mochi
Add 1/2 cup of ube halaya (purple yam jam) or 1 teaspoon of ube extract to the batter for a striking purple color and earthy sweetness. It’s a crowd favorite and visually stunning for parties or potlucks.
4. Pandan Butter Mochi
Mix 1 teaspoon of pandan extract into the batter to give your butter mochi a fragrant, floral aroma and vibrant green hue. Pandan is often called the “vanilla of Southeast Asia,” and it complements the coconut flavor beautifully.
5. Chocolate Butter Mochi
Stir 1/4 cup of unsweetened cocoa powder into the dry ingredients and reduce the sugar by 1/4 cup. The result is a rich, chewy chocolate delight — like a brownie with a Hawaiian soul.
6. Mini Butter Mochi Cups
Pour the batter into greased muffin tins and bake for about 35 minutes. This variation gives you adorable, single-serving portions that are perfect for parties, picnics, or gifting.
Tips & Tricks
- Use the right flour: Only mochiko or sweet rice flour will work. Do not substitute with regular rice flour — it will result in a gritty, dry texture.
- Don’t overmix: Once your batter is smooth, stop mixing. Overmixing can cause dense, rubbery results.
- Coconut milk matters: Use full-fat coconut milk for that creamy, custardy texture. Light versions won’t give the same richness.
- Cooling is key: Resist the temptation to cut right away. Cooling allows the mochi to set and makes slicing much easier.
- Storage: Store at room temperature for up to 2 days in an airtight container, or refrigerate for up to 5 days. Reheat before serving for best texture.
- Freezing option: Wrap slices individually in plastic wrap and freeze. Thaw and microwave for 20–30 seconds to restore their chewiness.
- Make ahead: Butter mochi can be made a day before serving — in fact, some say the flavor deepens overnight.
Nutritional Info (per serving, approximately one 2×2-inch square)
- Calories: ~210
- Total Fat: 10 g
- Saturated Fat: 7 g
- Cholesterol: 45 mg
- Sodium: 70 mg
- Total Carbohydrates: 28 g
- Sugar: 17 g
- Protein: 3 g
Note: Nutritional values are approximate and may vary depending on exact ingredients used.
Additional Info
- Prep Time: 15 minutes
- Cooking Time: 60–70 minutes
- Total Time: 1 hour 20 minutes
- Calories per Serving: 210
- Servings: 20–24 pieces
Final Thoughts
Hawaiian Butter Mochi is more than just a dessert — it’s a story of cultural fusion, community, and comfort. Each bite tells a tale of Hawaii’s diverse roots and its spirit of togetherness. Whether you grew up enjoying it at local gatherings or you’re discovering it for the first time, this golden, chewy treat has a way of making everyone feel at home.
There’s something almost magical about how simple ingredients like mochiko, butter, and coconut milk come together to create such a rich and unforgettable texture. The outer crust crackles ever so slightly under your teeth before melting into the dense, chewy sweetness within — a dance of flavor and texture that’s impossible to resist.
Make a batch for your next family gathering, pack some for a picnic, or surprise your coworkers with a tray at the office. And as you watch their faces light up after that first bite, you’ll understand why this humble Hawaiian favorite has won hearts all around the world.
If you fall in love with this recipe (and you probably will!), don’t be afraid to experiment — try adding ube, pandan, or even matcha. Butter mochi is all about creativity, sharing, and the joy of homemade food that connects us across cultures.
Aloha, and happy baking!
Printable Recipe Card:
- Name: Hawaiian Butter Mochi
- Category: Dessert
- Cuisine: Hawaiian / Japanese Fusion
- Keywords: Butter Mochi, Hawaiian Dessert, Coconut Mochi, Island Treat, Tropical Baking