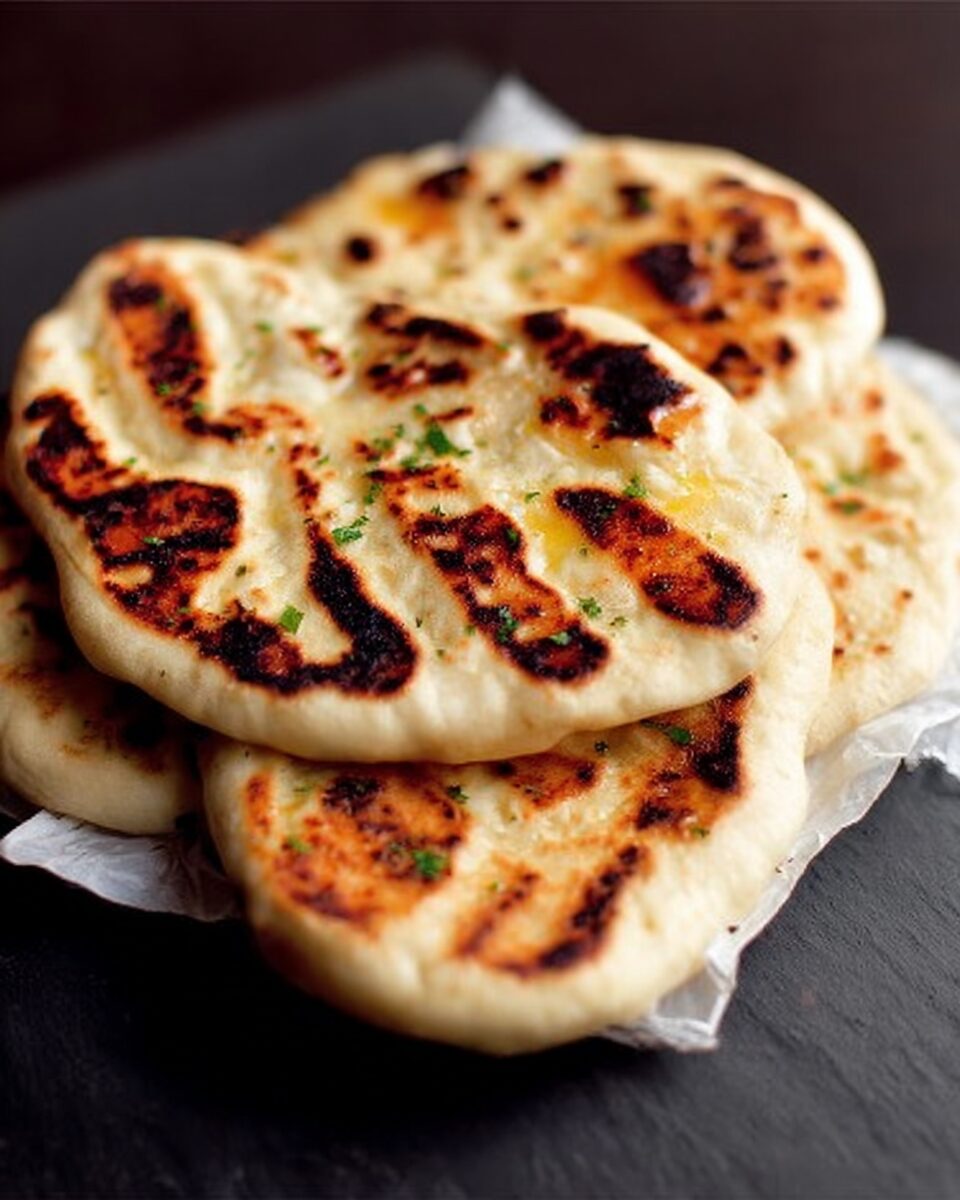
Few breads in the world can match the magic of freshly made Naan. That first bite — soft, slightly chewy, warm, and glistening with butter — is pure comfort. Whether you’re scooping up creamy curries, pairing it with spiced lentils, or simply tearing off a piece to enjoy with melted butter, naan has a way of turning any meal into a feast.
Naan is more than just bread; it’s an experience — a bridge between history, flavor, and hospitality. Originating from South and Central Asia, naan has roots that trace back more than a thousand years. The word naan itself comes from the Persian word for “bread,” and the technique spread across regions with the expansion of the Mughal Empire, evolving into the beloved flatbread we know today. In India, Pakistan, Afghanistan, and beyond, naan became a symbol of celebration — served during family gatherings, festivals, and communal feasts.
Traditionally, naan is baked in a tandoor, a cylindrical clay oven heated with wood or charcoal. The dough is slapped onto the oven’s scorching-hot walls, where it puffs up in seconds, developing those signature charred blisters and smoky flavor. The aroma of naan baking in a tandoor is unmistakable — yeasty, toasty, and intoxicatingly warm.
While most of us don’t have a tandoor at home, the good news is that you can recreate that same texture and flavor using a hot cast-iron skillet or oven broiler. The secret lies in a few key elements: a rich dough made with yogurt and milk (for tenderness), a quick high-heat cook (for those lovely bubbles), and a final brush of butter or ghee to bring it all together.
For me, naan is deeply nostalgic. I first learned to make it alongside my grandmother, who would hum softly while kneading the dough, her hands dusted with flour and her kitchen warm with the smell of yeast. She never measured anything exactly — it was all by touch and intuition — but somehow, her naan always came out perfect. Soft in the center, crisp at the edges, and just slightly smoky. She taught me that naan isn’t just bread; it’s a gesture of generosity. When you bring naan to the table, it says, “Eat well, stay awhile, and share with love.”
This recipe captures that spirit — simple, comforting, and authentic, yet perfectly adapted for the modern kitchen. You’ll need no special equipment, just a few pantry ingredients and a good pan. With a little patience (and the promise of melted butter), you’ll have naan that rivals your favorite restaurant’s — maybe even better.
Let’s dive into the recipe, step by step, so you can bring the magic of homemade naan to your own table.
Full Recipe
Ingredients
For the Naan Dough:
- 2 cups (250 g) all-purpose flour (plus extra for dusting)
- 1 teaspoon sugar
- ¾ teaspoon salt
- ¾ teaspoon instant yeast (or active dry yeast)
- 2 tablespoons plain yogurt (preferably full-fat)
- 2 tablespoons melted butter or oil
- ¾ cup (180 ml) warm milk (or water, around 105°F / 40°C)
For Cooking & Finishing:
- 2 tablespoons melted butter or ghee (for brushing)
- Optional toppings: chopped garlic, fresh cilantro, sesame seeds, or nigella seeds
Directions
Step 1: Activate the Yeast (If Using Active Dry Yeast)
If you’re using active dry yeast, combine it with warm milk and sugar in a small bowl. Stir and let sit for 10 minutes, until it becomes frothy.
If you’re using instant yeast, you can skip this step — it can be mixed directly with the flour.
This yeast activation step ensures your naan will rise beautifully and achieve that soft, airy texture.
Step 2: Mix the Dough
In a large mixing bowl, whisk together flour and salt.
If you’re using instant yeast, add it now. Make a well in the center and add the yogurt, melted butter (or oil), and the yeast mixture (if you activated it separately).
Gradually mix everything together using a spoon or your hands until it forms a shaggy dough. Add a splash more milk if it feels too dry, or a sprinkle of flour if it’s too wet.
Step 3: Knead Until Smooth
Turn the dough out onto a lightly floured surface. Knead gently for about 6–8 minutes, until it becomes smooth and elastic.
The dough should feel soft and slightly tacky but not sticky. The kneading process helps develop gluten, which gives naan its signature chew and stretch.
Pro Tip: If kneading by hand feels tiring, use a stand mixer with a dough hook on medium speed for 5 minutes.
Step 4: Let the Dough Rise
Form the dough into a ball and place it in a lightly greased bowl. Cover with a damp towel or plastic wrap and let rise in a warm place for 1–1½ hours, or until doubled in size.
This fermentation step is where the magic happens — the yeast develops flavor, and the dough relaxes, becoming soft and supple.
If your kitchen is cool, you can place the bowl near a warm oven or in a turned-off microwave with a cup of hot water inside.
Step 5: Punch Down & Divide
Once the dough has risen, punch it down gently to release the air. Transfer to a floured surface and divide into 6 equal portions.
Roll each portion into a ball, then cover with a towel to prevent drying while you work.
Pro Tip: For fluffier naan, let the divided dough balls rest for 10–15 minutes before shaping — this allows the gluten to relax, making them easier to stretch.
Step 6: Shape the Naan
Lightly dust your work surface with flour. Take one dough ball and flatten it slightly with your hands.
Use a rolling pin to roll it out into an oval or teardrop shape, about ¼ inch (6 mm) thick. Don’t worry about making it perfect — naan is meant to look rustic!
If you like, sprinkle on chopped garlic, sesame seeds, or nigella seeds and press them lightly into the surface with the rolling pin.
Step 7: Preheat Your Pan or Oven
Option 1: Skillet Method (Traditional at Home)
Heat a heavy-bottomed cast-iron skillet or non-stick pan over medium-high heat until very hot. Sprinkle a few drops of water on the surface — if they sizzle and evaporate immediately, it’s ready.
Option 2: Oven/Broiler Method (for Multiple Naans)
Preheat your oven to 500°F (260°C) with a baking stone or inverted baking sheet inside. You’ll mimic a tandoor this way!
Step 8: Cook the Naan
Skillet Method:
- Lightly brush one side of the naan with water.
- Place it water-side down onto the hot skillet. This helps it stick and create bubbles.
- Cook for 1–2 minutes, until bubbles form on the surface and the underside has golden brown spots.
- Flip the naan with tongs and cook another 30–45 seconds on the other side.
- For extra char, use tongs to hold the naan directly over the open flame of your gas burner for a few seconds — this gives that authentic tandoor look.
Oven/Broiler Method:
Place the naan directly on the hot baking stone or sheet and cook for 1½–2 minutes, until puffed and browned. For a more traditional look, switch to the broiler for 30 seconds to char the top.
Step 9: Brush & Serve
As soon as the naan comes off the heat, brush generously with melted butter or ghee. Sprinkle with chopped cilantro, minced garlic, or a pinch of sea salt if desired.
Stack the cooked naan in a towel-lined basket to keep them warm and soft while you finish the rest.
Serving Suggestions & Variations
Naan is wonderfully versatile — it’s the ultimate blank canvas for both traditional and creative pairings. Here are a few ideas to get you inspired:
1. Classic Indian Pairings
Serve naan with your favorite curries, such as butter chicken, tikka masala, or saag paneer. It’s also perfect for scooping up lentils (dal), chickpea stews, or raita (yogurt sauce).
2. Garlic Butter Naan
Before cooking, brush the rolled dough lightly with garlic-infused butter and sprinkle with minced garlic. After cooking, brush again with more butter and chopped parsley. This is a restaurant-style favorite!
3. Cheese-Stuffed Naan
Roll the dough slightly thicker and place a spoonful of grated mozzarella or paneer in the center. Fold and seal the edges, then roll again gently before cooking. Gooey cheese pockets in every bite — irresistible!
4. Whole Wheat or Multigrain Naan
Replace half the all-purpose flour with whole wheat flour for a heartier version. You may need to add an extra tablespoon of milk to keep it soft.
5. Herb & Seed Naan
Top naan with a sprinkle of sesame seeds, nigella seeds (kalonji), or chopped fresh herbs like cilantro or dill before cooking for added flavor and texture.
6. Sweet Naan (Dessert Version)
Brush the cooked naan with butter and sprinkle with cinnamon sugar or drizzle with honey. Pair with yogurt or fresh fruit for a delightful breakfast or dessert.
Tips & Tricks
Use Yogurt for Softness
Yogurt adds acidity, which helps tenderize the gluten and gives naan its soft, slightly tangy flavor. Don’t skip it!
The Hotter, The Better
For those signature bubbles and charred spots, cook naan over high heat. A lukewarm pan will make it flat and dry.
Don’t Overwork the Dough
Over-kneading or over-rolling can make naan dense. Keep it light-handed for fluffier results.
Butter or Ghee?
Either works beautifully! Ghee gives a nutty, caramelized flavor, while butter adds rich creaminess.
Make-Ahead Option
You can make the dough up to 24 hours in advance. Store it in the fridge, covered, then bring to room temperature before cooking.
Freezing
Once cooked, naan freezes wonderfully. Stack them with parchment paper between each, wrap in foil, and freeze for up to 2 months. Reheat in a hot pan or toaster oven.
Reheating
To reheat, wrap naan in foil and warm in a 350°F (175°C) oven for 5–7 minutes, or place directly on a hot skillet for 30 seconds on each side.
No Yeast Version
If you’re short on time, skip the yeast and add 1 teaspoon baking powder instead. The result will still be fluffy, just slightly denser.
Nutritional Info (Per Naan)
- Calories: 230 kcal
- Fat: 7 g
- Carbohydrates: 35 g
- Protein: 6 g
- Fiber: 1 g
- Sugar: 2 g
- Sodium: 220 mg
(Values approximate; based on 6 naans brushed with butter.)
Additional Info
- Prep Time: 15 minutes
- Resting Time: 1 hour
- Cooking Time: 20 minutes
- Total Time: ~1 hour 35 minutes
- Servings: 6 naan breads
- Calories per serving: ~230 kcal
Final Thoughts
There’s a reason naan holds a special place in kitchens across the world — it’s simple yet extraordinary. With its soft texture, buttery flavor, and endless versatility, naan transforms any meal into something memorable.
Making Naan Bread at home is more than just baking; it’s an act of connection. Each step — from kneading the dough to brushing it with butter — brings you closer to centuries of culinary tradition. And while it’s rooted in Indian cuisine, naan has become universal — loved and adapted everywhere from London curry houses to American backyard grills.
Once you’ve tried making it yourself, you’ll see why. The difference between homemade and store-bought naan is night and day. Fresh off the skillet, it’s puffy, golden, and tender, with a flavor that can only come from your own hands.
So the next time you’re cooking curry or simply craving something warm and comforting, make a batch of this naan. Serve it with butter chicken, wrap it around kebabs, or just enjoy it plain with a drizzle of honey.
Because when you tear into that first piece — still warm, slightly smoky, and buttery soft — you’ll know that you’ve brought a little piece of tradition into your kitchen.